 This post will guide you through installing Citrix Xenserver 6.2 on VMware Workstation 10. The guide will consist of 3 sections:-
- Create the Virtual Machine
- Installing Xenserver 6.2
- Managing server with Xencenter
1 – Create the Virtual Machine
First we create a VM clicking on the ‘Home tab’ and selecting ‘Create a new virtual machine’  We then make sure the ‘Typical’ is selected
  Choose ‘Installer disc image file (iso)’ Click ‘Browse’ and select the Xenserver 6.2 ISO file.
  Now select ‘VMware ESX’ and make sure the Version is ‘VMware ESXi 5’
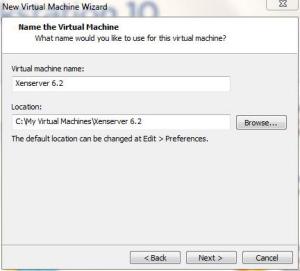
  Enter a description and location for your VM
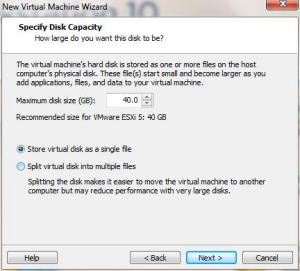
  Select ‘Store virtual disk as a single file’ and make sure the storage is more than 16 GB (which is recommended by Citrix)
  That’s it your done creating a VM
2 – Installing Xenserver 6.2
Power on your Xenserver 6.2 VM
Xenserver will now boot into the installation, select your keyboard layout
Click ‘OK’
Accept ‘Citrix End User License Agreement’

Now because I am installing Xendesktop later I have selected the ‘Enable thin provisioning’ but you don’t have to.
Select ‘Local media’
Select ‘No Supplemental Packs’
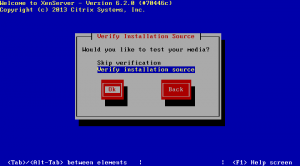
When installing I would always recommend ‘Verify installation source’
Click ‘OK’ on the confirmation of integrity
Now enter a complex password for the Xenserver root user
In most cases I would always recommend assigning static address details
Specify a hostname and enter your DNS server details
Select how you want the time to be set. In production servers I recommend using an ‘NTP’ server but for my LAB I am using ‘Manual time entry’
The installation will now proceed
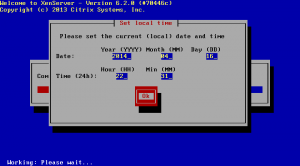
After the installation is complete because I selected manual time entry all I need to do is confirm the date and time are correct
That’s it click ‘OK’ and the server will reboot
That’s it all complete – now on to Xencenter…
3 – Managing server with Xencenter
After you have installed Xencenter from your start menu or desktop click to launch Xencenter
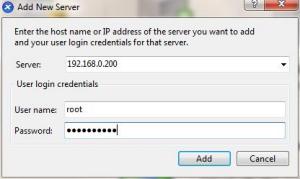
Now select ‘ADD’ a server
Enter the IP address (or name) and the root credentials
This next screen I select ‘Save and restore server connection state on startup’ click ‘OK’
Now my new server will be added, you can see that the server is healthy and I can now go on to add storage and build vm’s


